
We Were Here Tomorrow Shrink Puzzle: Complete Guide
Solve the We Were Here Tomorrow shrink puzzle with circuit tips, a chemical recipe, timed dial answers, and printer steps to unlock the green access pass.
Jump to
Solve the Circuit in the Shrink Area
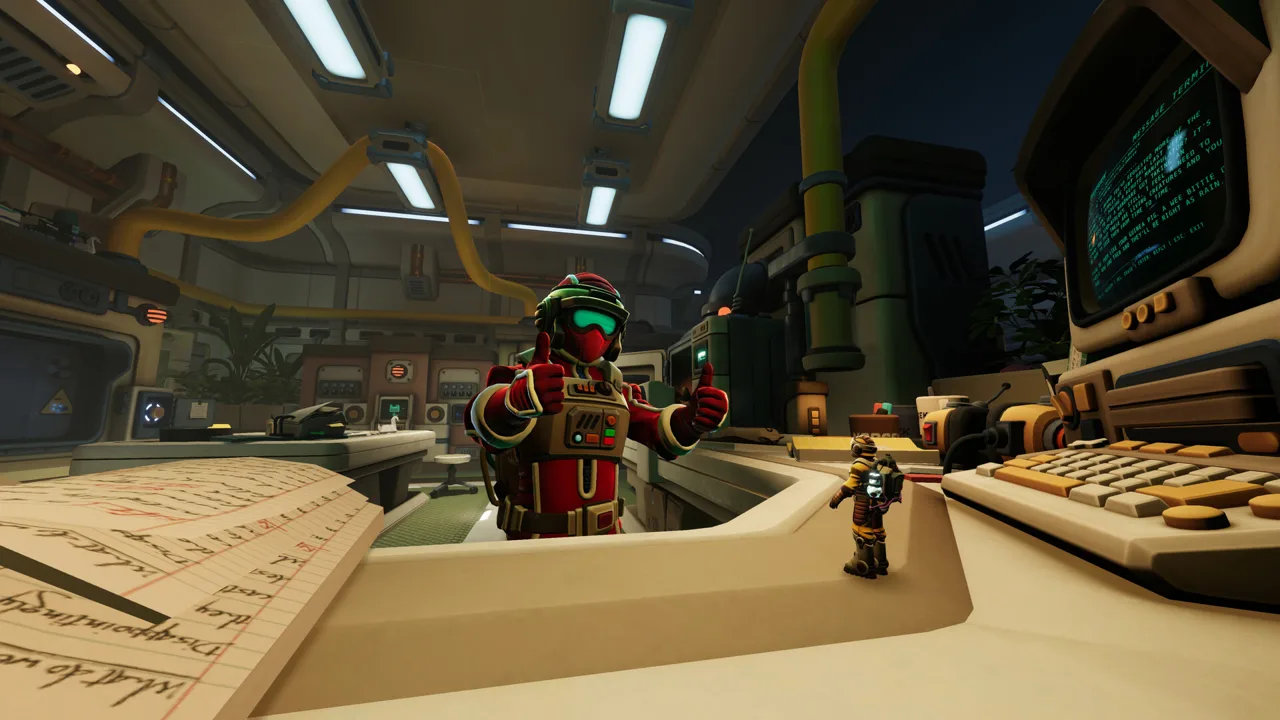
The We Were Here Tomorrow shrink puzzle turns a laboratory into an obstacle course, with one explorer small enough to crawl through equipment. Solving the We Were Here Tomorrow shrink puzzle means coordinating circuit components, chemical ingredients, a save disk, timed dials, and a printer. Your goal is to print a green access pass, restore your partner to normal size, and open the green-access door.
This sequence takes place in R&D after the wellness check. One player handles the miniature routes while the other operates equipment and reads information around the room. Keep those responsibilities clear: both players have useful information, even when only one can reach the next interaction.
Enter the reduction chamber
- Have one explorer enter the matter-reduction chamber.
- Let the outside explorer close and operate it.
- Open the chamber so the miniature explorer can leave.
- Move into the small enclosure containing the circuit components.
- Have the larger explorer read the symbol clues while the miniature explorer examines the sockets.
Remember to open the chamber after resizing. Your partner still needs a way out before the miniature exploration can begin.
Connect the component clues
The circuit combines unfamiliar pictograms with recognizable geometric symbols. Each clue gives three shapes, while the sockets carry pairs. Connect those pairs through their shared shape.
For example, triangle → Y → star corresponds to a triangle/Y connection followed by a Y/star connection. Describe the entire route before placing the component.
| Component appearance | Associated shape sequence |
|---|---|
| Two inward-curling, G-like shapes resembling a bicycle | Square → pentagon → plus |
| Two wheelchair-like shapes facing each other | Triangle → Y → star |
| Cylinder-like shape above a rounded base | Square → Y → star |
| Figure resembling someone holding a pitchfork | Triangle → pentagon → plus |
The two bicycle-like symbols are easy to confuse. Distinguish the inward-curling shapes from the facing-wheelchair shapes before discussing their sockets.
Read the geometric symbols aloud, then repeat them back. “Square, pentagon, plus” gives your partner a usable instruction; “the bicycle one” leaves room for a mix-up.
Follow the circuit from its incoming connection and check how each component continues the route. A component accepting placement does not, by itself, explain whether the whole arrangement is correct. Inspect neighboring connections before moving on.
Result: Completing this part lets the miniature explorer continue toward the desk section of the We Were Here Tomorrow shrink puzzle.
Official page: We Were Here Tomorrow (store.steampowered.com)
Mix the Chemicals in the Correct Order
The next section of the We Were Here Tomorrow shrink puzzle takes the miniature explorer across the work area. The larger explorer can rearrange books to create a route, while the smaller explorer uses the miniature travel points to reach it.
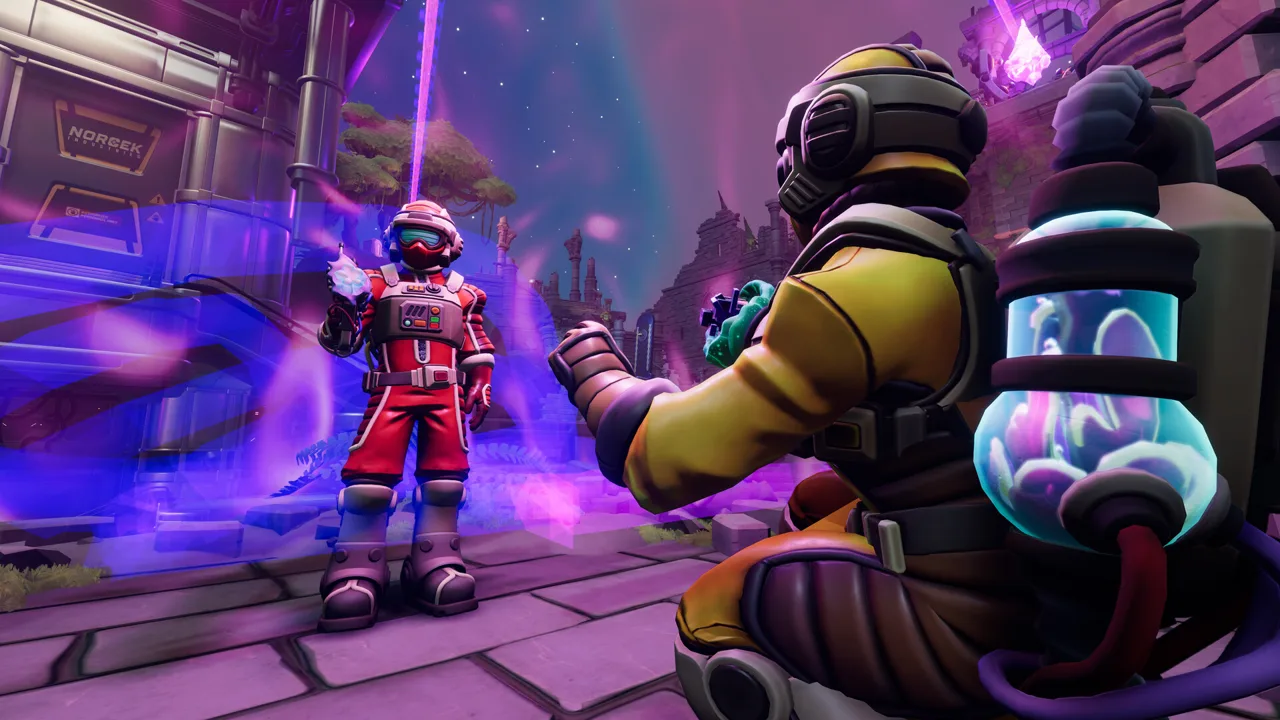 Image: Steam / Total Mayhem Games
Coordinate the path before starting the chemical machine. Have the larger explorer position the books, then let the miniature explorer confirm that each obstacle is passable.
Follow the recipe
The chemical labels are:
- Styrene
- Acrylonitrile
- Butadiene
The solution uses styrene at both ends, with acrylonitrile and butadiene between them. The recipe calls for equal parts of acrylonitrile and butadiene.
| Addition | Chemical | Recipe position |
|---|---|---|
| 1 | Styrene | Before acrylonitrile |
| 2 | Acrylonitrile | Before butadiene |
| 3 | Butadiene | After acrylonitrile, in an equal amount |
| 4 | Styrene | After butadiene |
The final sequence is Styrene → Acrylonitrile → Butadiene → Styrene, or SABS.
- Read the recipe together before dispensing anything.
- If you have already added the wrong ingredients, remove the existing mixture with the machine’s extraction function.
- Position the movable container beneath styrene and add it.
- Move to acrylonitrile and add it.
- Move to butadiene and add an equal part.
- Return to styrene for the final addition.
- Use the machine to process the completed mixture.
Spell out the chemical names while moving the container. Acrylonitrile is particularly easy to garble during a quick exchange, and repeating a nickname can make it harder to catch a mistake.
The order matters here. Adding each different chemical once leaves out the final styrene addition, while starting with butadiene misses the opening styrene.
Before activating the machine, have the dispensing player recite “styrene, acrylonitrile, butadiene, styrene.” Let the player reading the recipe confirm the sequence.
Result: Completing the mixture clears this chemical stage so you can continue through the desk area.
Enlarge the Save Disk and Open the Computer
The computer stage introduces a change of scale. The miniature explorer reaches an area with large floppy disks marked 01 and 02, while the partner outside finds a computer requesting a save disk.
The disk you are carrying needs to return to normal size before it can be inserted into that computer.
This is a useful checkpoint in your thinking during the We Were Here Tomorrow shrink puzzle: when the miniature route stops, compare what both players can interact with. The next action can belong to the explorer standing outside the equipment.
| Explorer | Action | Purpose |
|---|---|---|
| Miniature explorer carrying the disk | Return through the miniature travel route to the resizing chamber | Bring the disk back for enlargement |
| Partner outside | Operate the chamber to restore normal size | Allow the disk to be used at the computer |
| Explorer carrying the enlarged disk | Insert it into the computer’s disk slot | Activate the computer stage |
| Partner outside | Shrink the explorer again and open the chamber | Let them return to the miniature route |
Return with the correctly sized disk
- Leave the blocked computer route and travel back toward the chamber.
- Enter the chamber while carrying the disk.
- Have your partner restore you to normal size.
- Leave the chamber and insert the enlarged disk into the waiting computer.
- Return to the chamber.
- Have your partner shrink you again and let you out.
- Head back into the computer section.
Keep the two disk-related details separate during the conversation: the numbered floppy disks obstruct the miniature route, while the carried disk goes into the external computer.
Also distinguish the player’s size from the disk’s destination. Saying “I have the disk” does not tell your partner whether you are ready to insert it. Announce that you are back at normal size, then identify the computer slot.
Result: Inserting the disk activates the computer interactions needed for the timed dial puzzles.
Match Both Sets of Timed Dials
Inside the computer, one explorer operates a lever that makes four dials stop at particular directions. The other explorer reproduces those directions using the outside controls.
These are timed interactions. Agree on how you will name the directions before pulling the lever, especially for the second panel’s diagonals.
The two combinations are:
| Dial panel | Position 1 | Position 2 | Position 3 | Position 4 |
|---|---|---|---|---|
| First panel | Right | Up | Up | Left |
| Second panel | Upper left | Lower left | Upper right | Upper right |
Complete the first panel
- Have the outside player locate the four corresponding controls.
- Agree on the order in which you will call their positions.
- Pull the lever inside the computer.
- Call right, up, up, left.
- Have the outside player set the matching directions and finish the interaction before time runs out.
Stay ready before the lever moves. Looking for a control after the countdown begins uses time you need for setting the dials.
Complete the second panel
Repeat the process with upper left, lower left, upper right, upper right.
Say “upper left” and “lower left” in full. Shortening both to “left” loses the distinction that makes this combination work.
The outside player also needs to account for the controls rotating into position. Call the sequence promptly so they can begin adjusting while the timer is still running.
For this part of the We Were Here Tomorrow shrink puzzle, use brief acknowledgments: the reader calls a direction, and the operator confirms it. Save questions about the next route until the current timed interaction is complete.
Result: Finishing both dial panels completes the computer section and brings the miniature explorer into the 3D-printer area.
Reproduce the Printer Grid and Collect the Green Pass
The printer stage connects the miniature controls to a grid on the back of the 3D printer. A target pattern visible through the window tells you what to reproduce.
One explorer stays with the controls while the other checks the target and the printer grid. The controls move a selection around the grid, and the center button changes the selected position’s state.
| Element | Function |
|---|---|
| Direction controls | Move the selection around the printer grid |
| Center button | Toggle the selected position |
| Target pattern visible through the window | Show the pattern to reproduce |
| Grid on the back of the printer | Display the pattern you are editing |
| 3D printer | Produce the green access pass when the pattern is completed |
Establish directions before editing
The explorers view this puzzle from different positions, so left and right can become confusing.
- Have the outside explorer identify the target pattern and inspect the printer grid.
- Move the selection once.
- Have the observer describe which way it moved from their viewpoint.
- Agree on directional language before continuing.
- Guide the selection to each position that needs changing.
- Use the center button to toggle that position.
- Compare the completed grid with the target.
Use instructions such as “move left once, then toggle.” Wait for acknowledgment before issuing another command. Combining movement and toggling into a long sentence makes it harder to locate an accidental input.
If the pattern looks wrong, compare the individual positions against the target. Move the selection to the mismatched position and toggle it rather than continuing from an uncertain cursor location.
Finish the shrink sequence
Once the pattern matches, the printer produces a green access pass. Collect it, then guide the miniature explorer back to the resizing chamber.
Have them enter before closing the door. Operate the chamber to restore normal size, open it, and reunite outside. Use the green pass at the green-access door.
That pass is the final reward for the We Were Here Tomorrow shrink puzzle. Keep the exit sequence coordinated through the last chamber interaction: the miniature explorer still needs their partner’s help to return.
FAQ
What is the chemical recipe for the We Were Here Tomorrow shrink puzzle?
Use Styrene → Acrylonitrile → Butadiene → Styrene. Acrylonitrile and butadiene require equal parts. Remove an incorrect mixture before starting again.
Why can’t I use the save disk while I’m small?
Return to the resizing chamber with the disk and restore normal size. Insert the enlarged disk into the external computer, then shrink again to continue inside the equipment.
What are the timed dial combinations?
The first panel uses right, up, up, left. The second uses upper left, lower left, upper right, upper right. Match all four directions within the timed interaction.
What do you get for completing the shrink puzzle?
The 3D printer produces a green access pass after you reproduce its target grid pattern. Restore the miniature explorer to normal size, then use the pass to open the green-access door.
Continue with
 We Were Here Tomorrow Wire Puzzle: Complete SolutionSolve the We Were Here Tomorrow wire puzzle with the full module route, colored door unlocks, and co-op callouts. Follow every connection from GEN to Ψ07.
More in Puzzles
We Were Here Tomorrow Chemical Puzzle: Resin Solution
Solve the We Were Here Tomorrow chemical puzzle with the correct resin recipe, nozzle order, reset steps, and co-op tips to keep your lab progress moving.
We Were Here Tomorrow Circuit Puzzle: Full Solutions
Solve the We Were Here Tomorrow circuit puzzle with component matching tips, the GEN cable route, and door unlock steps. Get both players moving again.
We Were Here Tomorrow Crystal Puzzle: Laser Solution
Solve the We Were Here Tomorrow crystal puzzle with the correct laser order, identify Pingosius Crystalis, and fix the Wrong Crystal Configuration error.
We Were Here Tomorrow Floppy Disk Puzzle: Door Guide
Solve the We Were Here Tomorrow floppy disk puzzle with steps for disk activation, both direction panels, timing fixes, and the Green Key Card printer.
Join the community
Official channels for news, updates and player help: