
We Were Here Tomorrow Wire Puzzle: Complete Solution
Solve the We Were Here Tomorrow wire puzzle with the full module route, colored door unlocks, and co-op callouts. Follow every connection from GEN to Ψ07.
Jump to
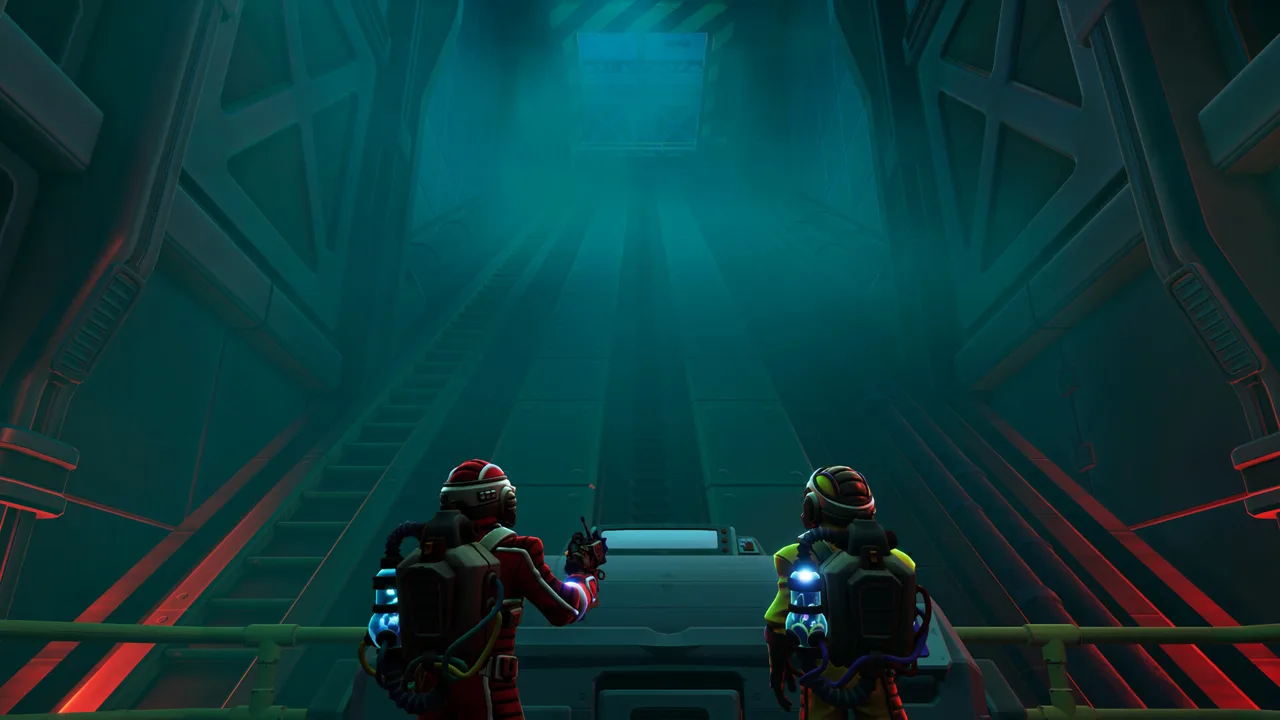
We Were Here Tomorrow Wire Puzzle Solution
One wrong module can leave your cable route with nowhere to go. The We Were Here Tomorrow wire puzzle requires a continuous path that reaches specific modules in order, unlocks colored doors, and never revisits a module. Follow the route below to solve the We Were Here Tomorrow wire puzzle while keeping those restrictions intact.
Start at GEN and follow this complete sequence:
GEN → Ψ01 → Ψ04 → Ψ02 → Ψ03 → Ψ06 → Σ04 → Σ03 → Σ01 → Σ02 → Ψ08 → Θ03 → Δ02 → Δ03 → λ02 → λ03 → λ01 → Ψ07
The required target order is Ψ02 → Θ03 → λ03 → Ψ07. The other modules connect those targets and open access to the sections you need.
For easier callouts, break the complete We Were Here Tomorrow wire puzzle route into these sections:
| Route section | Activate in this order | What this accomplishes |
|---|---|---|
| Start and first target | GEN → Ψ01 → Ψ04 → Ψ02 | Reaches Ψ02 |
| Approach the red unlock | Ψ03 → Ψ06 → Σ04 → Σ03 | Activates the module that opens RED |
| Open the green section | Σ01 → Σ02 | Activates the module that opens GRE |
| Reach the second target | Ψ08 → Θ03 | Reaches Θ03 after unlocking its section |
| Open the blue section | Δ02 → Δ03 | Activates the module that opens BLU |
| Finish the target sequence | λ02 → λ03 → λ01 → Ψ07 | Reaches λ03, then ends at Ψ07 |
Read each section as a continuation of the previous row. For example, after activating Ψ02, your next module is Ψ03. You do not return to GEN between sections.
Keep the full sequence visible while you work. The target list alone leaves out the connections and door switches that make the route possible.
Official page: We Were Here Tomorrow (store.steampowered.com)
Module Rules and Starting Access
The central restriction in the We Were Here Tomorrow wire puzzle is movement: your next module must connect directly to the module you just activated. You cannot jump across the network simply because another module is available.

Each module also allows only one visit. That makes your route history important; an unlocked, connected module still cannot be used again after you have visited it.
Before starting, separate three questions:
- Is the next module available?
- Is it connected to your current module?
- Have you already visited it?
Your next move needs to satisfy all three conditions.
Which modules are available at the start?
You begin at GEN. The starting set includes the Ψ and Σ groups, plus two specific Δ modules.
| Module or group | Starting availability | Relevant restriction |
|---|---|---|
| GEN | Available; starting point | Begin the route here |
| All Ψ modules | Available | Follow connections and avoid repeat visits |
| All Σ modules | Available | Follow connections and avoid repeat visits |
| Δ02 and Δ05 | Available | Availability does not make either module your next move |
| Θ01, Θ02, Θ03, Θ04 | Locked behind GRE | Activate Σ02 to unlock access |
| Δ01, Δ03, Δ04 | Locked behind RED | Activate Σ03 to unlock access |
| λ01, λ02, λ03 | Locked behind BLU | Activate Δ03 to unlock access |
Notice the distinction between Δ02 and Δ03. Δ02 is available immediately, but Δ03 requires the red door unlock. Their matching Greek letter does not give them matching access conditions.
Also, an available module is not automatically part of the solution. Δ05 is available at the start, yet the route above does not visit it.
Do not try to activate every module on the board. Follow the route toward the required targets, preserving the unused connections you need later. Likewise, do not treat Ψ07 as an early destination just because it belongs to an initially available group; it belongs at the end of this solution.
Colored Door Unlocks: RED, GRE, and BLU
The colored labels in the We Were Here Tomorrow wire puzzle represent locked doors, not modules. Never insert RED, GRE, or BLU into your activation sequence.
 Image: PlayStation Store
Instead, activate the module associated with each door. That makes the corresponding modules available, while the cable and single-visit restrictions remain in effect.
| Door label | Module that unlocks it | Modules made available |
|---|---|---|
| RED | Σ03 | Δ01, Δ03, Δ04 |
| GRE | Σ02 | Θ01, Θ02, Θ03, Θ04 |
| BLU | Δ03 | λ01, λ02, λ03 |
In the complete route, the door unlocks happen in this order: RED, then GRE, then BLU.
Open RED at Σ03
Reach Σ03 through Ψ03 → Ψ06 → Σ04 → Σ03, continuing from the first target, Ψ02.
Activating Σ03 opens access to the red section, including Δ03. However, your next move in this route is Σ01, followed by Σ02. Keep following the sequence rather than immediately heading toward a newly available Δ module.
Open GRE at Σ02
After Σ03, continue through Σ01 → Σ02.
Σ02 opens the Θ group. From there, follow Ψ08 → Θ03 to reach your second required target.
The unlock and the approach are separate parts of the solution: Σ02 provides access, while Ψ08 connects the route to Θ03.
Open BLU at Δ03
After Θ03, continue through Δ02 → Δ03.
Δ03 opens the λ group, allowing the final section through λ02 → λ03 → λ01 → Ψ07.
Keep the dependency clear: reaching λ03 requires access to the blue section, and that access comes from Δ03. The earlier visit to Σ03 opens access to Δ03 itself.
Required Target Order and Route Breakdown
The We Were Here Tomorrow wire puzzle asks you to activate Ψ02, Θ03, λ03, and Ψ07 in that order. Use those targets as checkpoints while keeping the complete cable path in view.
 Image: Steam / Total Mayhem Games
| Required target | Route leading into it | Continue with |
|---|---|---|
| Ψ02 | GEN → Ψ01 → Ψ04 → Ψ02 | Ψ03 |
| Θ03 | Σ02 → Ψ08 → Θ03 | Δ02 |
| λ03 | Δ03 → λ02 → λ03 | λ01 |
| Ψ07 | λ03 → λ01 → Ψ07 | End of the listed route |
Step 1: Reach Ψ02 through Ψ01 and Ψ04
Activate GEN, then follow Ψ01 → Ψ04 → Ψ02.
This establishes the first target without using the modules reserved for later in the route. Read the entire ID aloud, including the number. Ψ01 and Ψ04 belong to the same group, but they occupy different positions in the sequence.
Step 2: Work through the Σ modules
From Ψ02, activate:
Ψ03 → Ψ06 → Σ04 → Σ03 → Σ01 → Σ02
This stretch handles both the red and green unlocks. Pay particular attention to Σ04 → Σ03 → Σ01 → Σ02. Numerical order is not the solution; the cable route determines the sequence.
Mark each activation as you go. If you lose your place, compare your recorded path with the sequence before selecting another module.
Step 3: Reach Θ03, then open the λ section
Continue from Σ02 through:
Ψ08 → Θ03 → Δ02 → Δ03
Θ03 satisfies the second target. Δ03 then opens access to the λ modules.
Do not stop tracking the sequence after reaching Θ03. The next two activations provide the approach and unlock needed for the third target.
Step 4: Pass through λ03 and finish at Ψ07
From Δ03, activate:
λ02 → λ03 → λ01 → Ψ07
The order matters here. λ03 is the third target, but it is not the final activation. Continue through λ01 before reaching Ψ07.
The completed sequence reaches all four required targets in order without revisiting a module. Keep the distinction between target order and full route clear throughout the puzzle: intermediate modules are essential parts of the path.
Co-op Callouts and Troubleshooting
We Were Here Tomorrow centers its puzzles on two players combining different perspectives. For the wire puzzle, keep your conversation tied to module IDs, cable connections, and the route already traveled.
Assign one partner to read the sequence and the other to track completed activations. Adapt that division to the information each of you can see.
Use complete module IDs
Say “Psi zero four” rather than “that Psi one.” Say “Sigma zero three” rather than “the red switch.”
The full ID keeps the instruction tied to a particular module. It also separates a module’s identity from the door it unlocks.
Use a short exchange before each activation:
- Reader: “Current module: Σ04. Next: Σ03.”
- Partner: “Σ03 next.”
- After activating it: “Σ03 complete. Continue to Σ01.”
These are suggested callouts, not additional puzzle rules. Use them to maintain a shared record of your position.
Check the route before blaming a locked section
When the We Were Here Tomorrow wire puzzle leaves you facing an unavailable module, check its unlocking requirement.
For Θ03, look back for Σ02. For Δ03, look back for Σ03. For any λ module, look back for Δ03.
Then check your current connection. Opening GRE makes Θ03 available, but the listed route still approaches it through Ψ08. An open door does not allow you to skip that connecting module.
Keep a record of visited modules
Cross off modules as you activate them. Before the next selection, compare the current module and next ID with the route.
If you have departed from the sequence, review where that happened. Do not improvise a return through an already visited module; revisiting is prohibited.
Also avoid treating every open branch as an invitation. Unlocking the Θ group makes four modules available, but this solution uses Θ03. Opening a section expands access without changing your target order.
Keep the wire puzzle separate from the symbol puzzle
The generator-room symbol puzzle uses two levers set to blue zones and a separate symbol-selection task. Those instructions belong to a different puzzle.
For this cable network, stay focused on GEN, module IDs, colored doors, and the single-visit route. Lever positions and symbol combinations do not replace the activation sequence above.
Before your next attempt, read the route together once. Identify Σ03, Σ02, and Δ03 as the door unlocks, then call out the four targets in order.
FAQ
What is the complete We Were Here Tomorrow wire puzzle solution?
Follow GEN → Ψ01 → Ψ04 → Ψ02 → Ψ03 → Ψ06 → Σ04 → Σ03 → Σ01 → Σ02 → Ψ08 → Θ03 → Δ02 → Δ03 → λ02 → λ03 → λ01 → Ψ07. Each activation follows a cable connection, and no module is revisited.
Which modules unlock the colored doors?
Σ03 unlocks RED, Σ02 unlocks GRE, and Δ03 unlocks BLU. The doors provide access to specific module groups; their labels are not selectable modules in the route.
Can you revisit a module after unlocking another door?
No. Each module permits only one visit. Unlocking a door makes additional modules available, but it does not remove the single-visit restriction or the requirement to follow cable connections.
Why does the route continue after λ03?
λ03 is the third required target. The final target is Ψ07, and the closing section follows λ03 → λ01 → Ψ07. Continue through λ01 to complete the listed route.
Continue with
 We Were Here Tomorrow Chemical Puzzle: Resin SolutionSolve the We Were Here Tomorrow chemical puzzle with the correct resin recipe, nozzle order, reset steps, and co-op tips to keep your lab progress moving.
More in Puzzles
We Were Here Tomorrow Circuit Puzzle: Full Solutions
Solve the We Were Here Tomorrow circuit puzzle with component matching tips, the GEN cable route, and door unlock steps. Get both players moving again.
We Were Here Tomorrow Crystal Puzzle: Laser Solution
Solve the We Were Here Tomorrow crystal puzzle with the correct laser order, identify Pingosius Crystalis, and fix the Wrong Crystal Configuration error.

We Were Here Tomorrow Floppy Disk Puzzle: Door Guide
Solve the We Were Here Tomorrow floppy disk puzzle with steps for disk activation, both direction panels, timing fixes, and the Green Key Card printer.
We Were Here Tomorrow Generator Puzzle: Full Solution
Solve the We Were Here Tomorrow generator puzzle with the full cable route, colored door unlocks, and symbol panel inputs. Get your co-op run moving again.
Join the community
Official channels for news, updates and player help: