We Were Here Tomorrow Laser Puzzle: Crystal Solution
Solve the We Were Here Tomorrow laser puzzle with the correct crystal order, yellow-to-turquoise beam route, and fixes for Wrong Crystal Configuration.
Jump to
Solve the Laser Calibration Puzzle
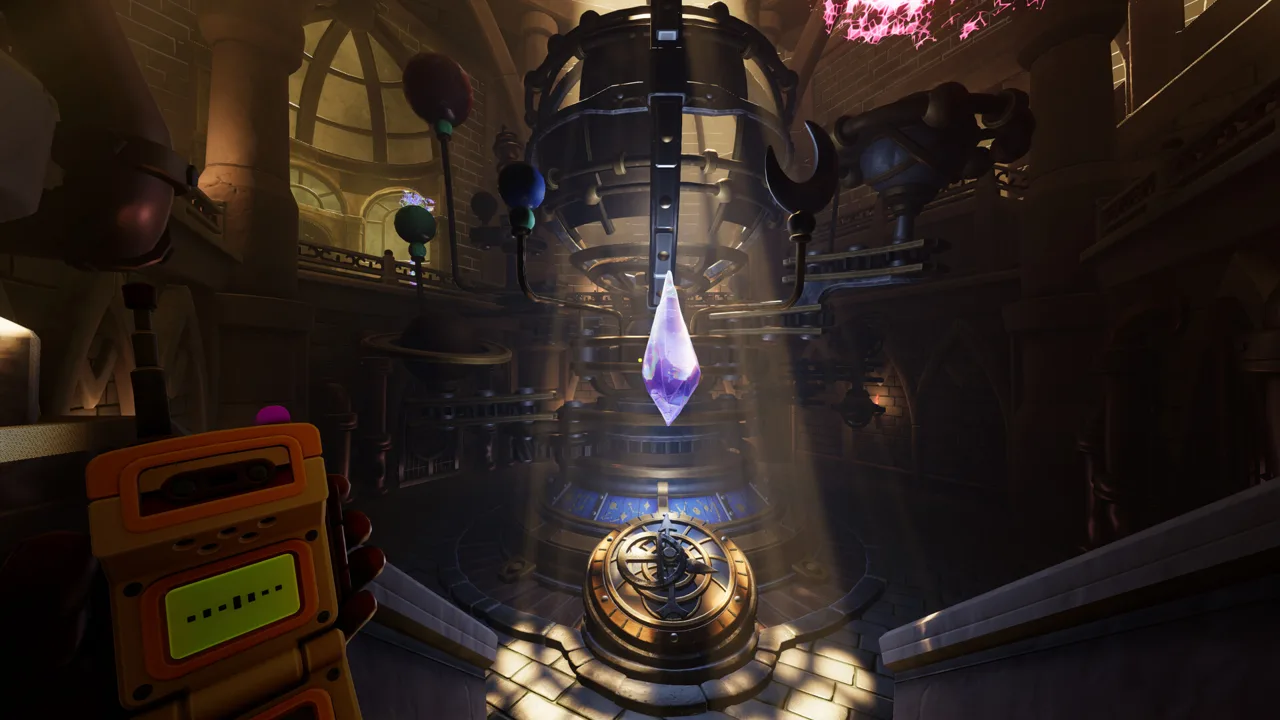
Getting a beam into the receiver is only part of the We Were Here Tomorrow laser puzzle. To complete the calibration, send it through the crystal effects in this order: Mirror / Piercing → Serene / Stabilizing → Fiery / Heating, routing through the yellow room before the turquoise room. If the We Were Here Tomorrow laser puzzle keeps rejecting your setup, check the crystal selection and processing order before rearranging every reflector.
The other detail to watch is the crystal name: Pingosius Crystalis is required, and Pingosso Crystallo is a different specimen. Their similar names make them easy to confuse, so compare their shapes before committing to a selection.
Your completed configuration needs to satisfy these requirements:
| Part of the solution | Required configuration |
|---|---|
| Initial crystal effect | Mirror / Piercing |
| Second crystal effect | Serene / Stabilizing |
| Final crystal effect | Fiery / Heating |
| Room sequence | Yellow before turquoise, followed by the final crystal stage |
| Destination | Central receiving apparatus |
Work through the puzzle in a deliberate sequence:
- Locate the main laser emitter and follow its outgoing beam.
- Identify the final receiver and the reflector that can aim into it.
- Compare the crystal specimens, paying particular attention to Pingosius Crystalis.
- Build the route through the yellow section and then the turquoise section.
- Complete the heating stage and direct the processed beam into the receiver.
A successful configuration activates the machinery and opens the next passage. Until that happens, keep checking both the route and the crystal effects. A connected beam gives you useful progress, but calibration also depends on what happens to that beam along the way.
Official page: We Were Here Tomorrow (store.steampowered.com)
Identify the Correct Crystal Specimens
Before spending time adjusting the beam, settle the crystal identification. The catalogue contains six specimens:
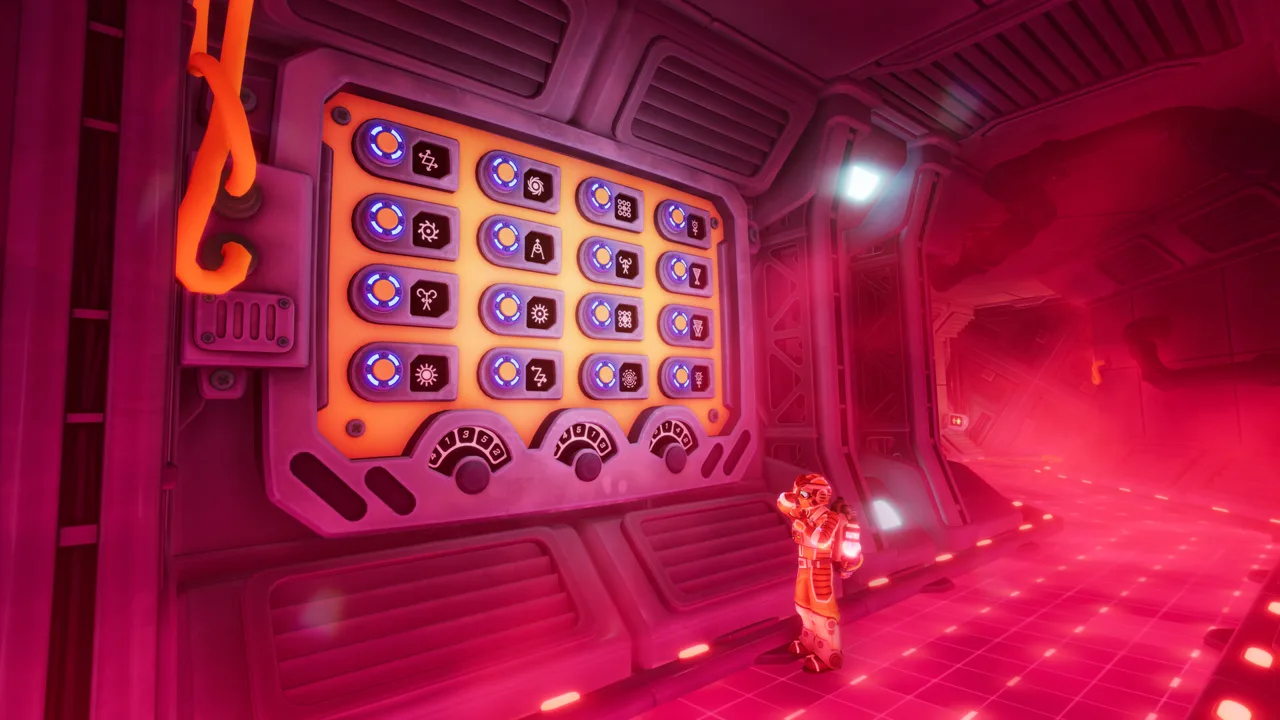 Image: Steam / Total Mayhem Games
- Cattonimo
- Rupium
- Cattonimus
- Cattonium
- Pingosso Crystallo
- Pingosius Crystalis
Read the complete names aloud to your partner. Shortening the last two to “the Ping crystal” removes the distinction you need to make.
The important visual comparison is between Pingosso Crystallo and Pingosius Crystalis. Both have angular shapes, but the required Pingosius Crystalis has additional small growths, including rounded features near its upper spikes.
| Specimen | Visual distinction | What to check |
|---|---|---|
| Pingosius Crystalis | Additional small growths, including rounded shapes near the upper spikes | Match those features when selecting the required specimen |
| Pingosso Crystallo | Lacks that same combination of additional growths | Compare it carefully against Pingosius Crystalis |
Inspect the smaller features instead of choosing by the overall silhouette. Two crystals can look broadly similar while differing in the details that identify them.
For the We Were Here Tomorrow laser puzzle, keep specimen identity and crystal effect order separate in your discussion. You need the correct crystal selection, and the beam must also receive its effects in the required sequence. Checking one does not replace checking the other.
Use this identification routine:
- Find the named specimen in the catalogue.
- Describe its main shape to your partner.
- Compare the smaller growths around its upper spikes.
- Confirm the full name before continuing with the beam route.
Have your partner repeat the name back before moving on. This is especially useful when one explorer is examining the catalogue while the other is working near the crystal holders.
Once the selection is settled, keep it as a reference point while you adjust the optical path. Avoid changing a carefully checked specimen simply because the next reflector is proving awkward to align.
Route the Beam Through Yellow, Then Turquoise
The required room order is yellow → turquoise → final crystal stage → central receiver. Preserve that sequence while connecting the available reflectors and openings.
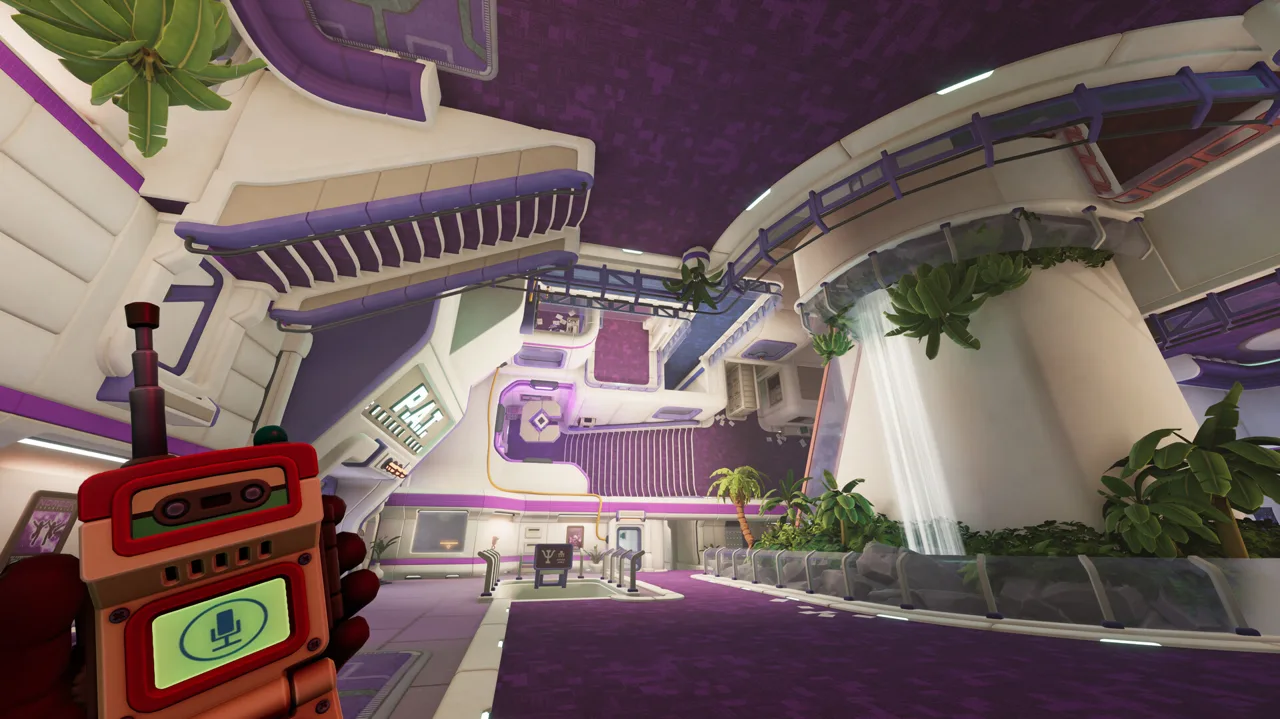 Image: Steam / Total Mayhem Games
Some reflectors rotate, while others have fixed orientations. Start by identifying which connections those fixed pieces permit. Turning an adjustable reflector repeatedly will not help if you are trying to feed it from a direction the surrounding layout cannot support.
Trace the route backward from the receiving apparatus before making broad changes:
- Stand where you can identify the final receiving point.
- Find the reflector capable of directing the beam into it.
- Trace the preceding connection needed to feed that reflector.
- Continue backward through the final crystal stage and turquoise section.
- Check how the yellow section connects to that route.
Then work forward from the emitter to assemble the path you have identified.
| Route segment | What to do | Check before continuing |
|---|---|---|
| Emitter to yellow section | Direct the beam through the selected crystal in the yellow section | The initial effect is Mirror / Piercing |
| Yellow to turquoise | Connect the available reflectors toward the turquoise section | Yellow occurs before turquoise |
| Turquoise to final stage | Continue through the stabilizing stage toward the heating crystal | Serene / Stabilizing precedes Fiery / Heating |
| Final stage to receiver | Aim the processed beam into the central apparatus | All three effects occur in the required order |
Think of the We Were Here Tomorrow laser puzzle as a connected route with an ordered processing sequence. Follow the beam through each crystal instead of checking only where it ends.
If you lose track of the route, return your attention to the emitter and describe every connection in order. Name the room, identify the crystal stage, and point out the reflector carrying the beam onward. That makes an accidental detour easier to spot.
Keep the final receiving connection in mind throughout the setup. A route through the correct rooms still needs a workable final alignment into the apparatus. Working backward helps you account for that connection before spending time on the earlier sections.
Coordinate Reflector Adjustments With Your Partner
The room layout can make simple directions confusing. When explorers are on opposite sides of the structure or viewing inverted spaces, “left” and “up” can describe different movements.
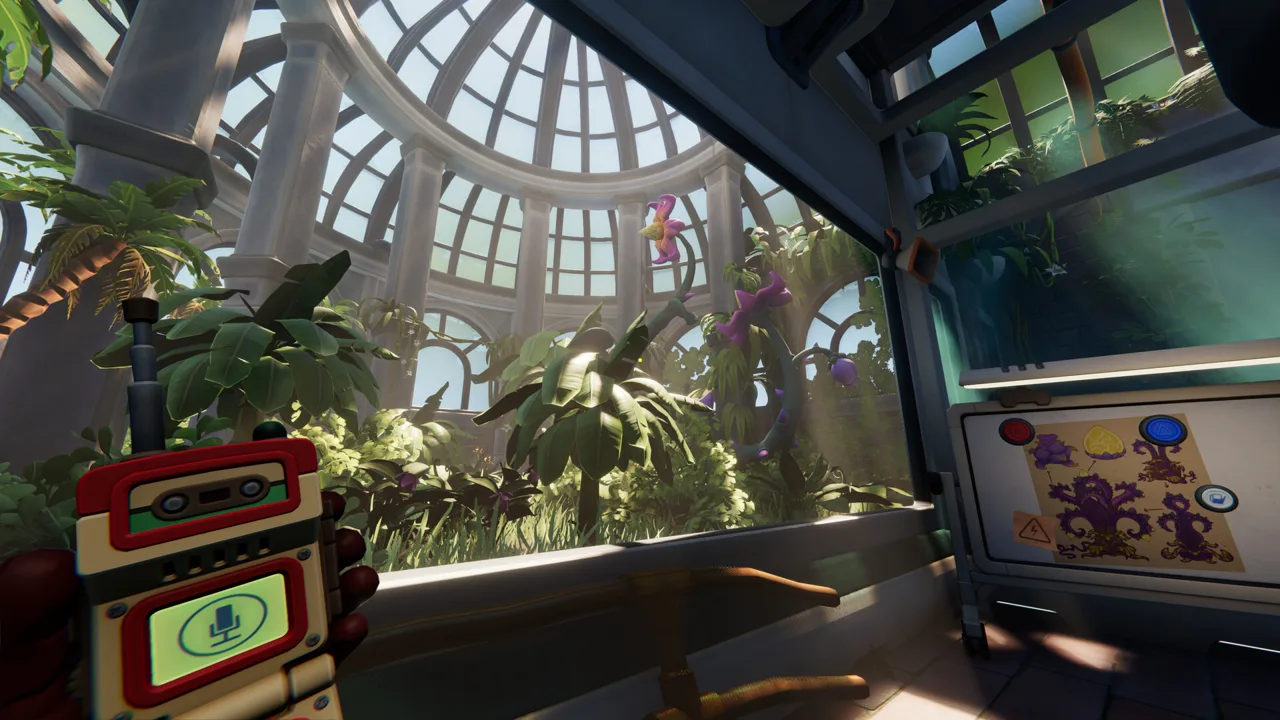 Image: Steam / Total Mayhem Games
Use room colors, crystal holders, openings, and the central receiver as shared landmarks. Instead of saying “turn it right,” identify where the beam needs to go: “Aim toward the opening leading to the turquoise room.”
Keep the instruction tied to a visible destination.
For the We Were Here Tomorrow laser puzzle, divide your attention between the adjustment and its result. Have one explorer manipulate the relevant reflector while the other watches the connection farther along the route. Switch attention as needed when the next segment becomes the problem.
Use this communication sequence:
- Name the reflector. Identify it by its room or nearby landmark.
- Name the destination. Specify the opening, crystal holder, or receiver.
- Make the adjustment. Keep the change focused on that connection.
- Describe the result. Tell your partner where the beam now travels.
- Check the next segment. Continue only after you both understand the current path.
Change one part at a time whenever possible. If both explorers rearrange separate reflectors together, it becomes harder to identify which movement broke a useful connection.
Before moving away from a working section, state what it accomplishes. For example: “The yellow section now sends the beam toward turquoise.” That gives both players the same understanding of the setup.
Also distinguish between a routing problem and a calibration problem in your callouts. “The beam misses the next opening” calls for alignment work. “The beam reaches the apparatus, but the display rejects it” calls for a closer look at crystal identity and effect order.
That distinction keeps your next adjustment focused on the actual obstacle.
Fix “Wrong Crystal Configuration”
Wrong Crystal Configuration can appear even when the beam reaches the central apparatus. When that happens, inspect the crystals and their sequence before rebuilding the entire route.
Start with the two similarly named specimens. Check that you selected Pingosius Crystalis, including its additional small rounded growths near the upper spikes.
Next, trace the beam from its origin and verify the complete processing order:
Mirror / Piercing → Serene / Stabilizing → Fiery / Heating
Finally, check that the room route still passes through yellow before turquoise and continues through the final crystal stage.
| Problem | What to inspect | Next action |
|---|---|---|
| Receiver is reached, but configuration is rejected | Selected specimens and crystal effect sequence | Recheck Pingosius Crystalis, then trace all three effects |
| Beam cannot reach the next section | Reflector orientations and openings between rooms | Trace backward from the intended connection |
| Route becomes confusing between players | Different viewpoints or inverted rooms | Describe destinations using room colors and landmarks |
| Setup still fails after changing a crystal | Yellow-to-turquoise route and final alignment | Follow the entire beam again before changing more pieces |
Work through those checks individually. If you change the specimen, the room route, and several reflector angles together, you lose the chance to see which correction mattered.
Use this final checklist for the We Were Here Tomorrow laser puzzle:
- Confirm the required Pingosius Crystalis specimen.
- Check Mirror / Piercing as the initial effect.
- Check Serene / Stabilizing as the second effect.
- Check Fiery / Heating as the final effect.
- Follow the yellow-to-turquoise room sequence.
- Aim the completed beam into the central receiver.
Once the machinery activates and the next passage opens, the calibration is complete.
FAQ
What is the correct We Were Here Tomorrow laser puzzle order?
The crystal effects must occur in this sequence: Mirror / Piercing, then Serene / Stabilizing, then Fiery / Heating. Route the beam through the yellow room before the turquoise room, continue through the final crystal stage, and direct it into the central receiving apparatus.
Why does the receiver say “Wrong Crystal Configuration”?
The beam can reach the receiver while the crystal setup remains incorrect. Recheck the selected specimens and their effect order. Pay particular attention to Pingosius Crystalis, which is easy to confuse with Pingosso Crystallo.
How do I recognize Pingosius Crystalis?
Look for additional small growths, including rounded shapes near the upper spikes. Pingosso Crystallo lacks that same combination of features. Compare those details and the full specimen name before selecting it.
What happens after completing the laser calibration?
After you complete the We Were Here Tomorrow laser puzzle, the machinery activates and the next passage opens. Watch for that progression after directing the correctly processed beam into the central apparatus.
Continue with
 We Were Here Tomorrow Shrink Puzzle: Complete GuideSolve the We Were Here Tomorrow shrink puzzle with circuit tips, a chemical recipe, timed dial answers, and printer steps to unlock the green access pass.
More in Puzzles
We Were Here Tomorrow Chemical Puzzle: Resin Solution
Solve the We Were Here Tomorrow chemical puzzle with the correct resin recipe, nozzle order, reset steps, and co-op tips to keep your lab progress moving.
We Were Here Tomorrow Circuit Puzzle: Full Solutions
Solve the We Were Here Tomorrow circuit puzzle with component matching tips, the GEN cable route, and door unlock steps. Get both players moving again.
We Were Here Tomorrow Crystal Puzzle: Laser Solution
Solve the We Were Here Tomorrow crystal puzzle with the correct laser order, identify Pingosius Crystalis, and fix the Wrong Crystal Configuration error.
We Were Here Tomorrow Floppy Disk Puzzle: Door Guide
Solve the We Were Here Tomorrow floppy disk puzzle with steps for disk activation, both direction panels, timing fixes, and the Green Key Card printer.
Join the community
Official channels for news, updates and player help: