We Were Here Tomorrow Crystal Puzzle: Laser Solution
Solve the We Were Here Tomorrow crystal puzzle with the correct laser order, identify Pingosius Crystalis, and fix the Wrong Crystal Configuration error.
Jump to
We Were Here Tomorrow Crystal Puzzle: Correct Laser Order
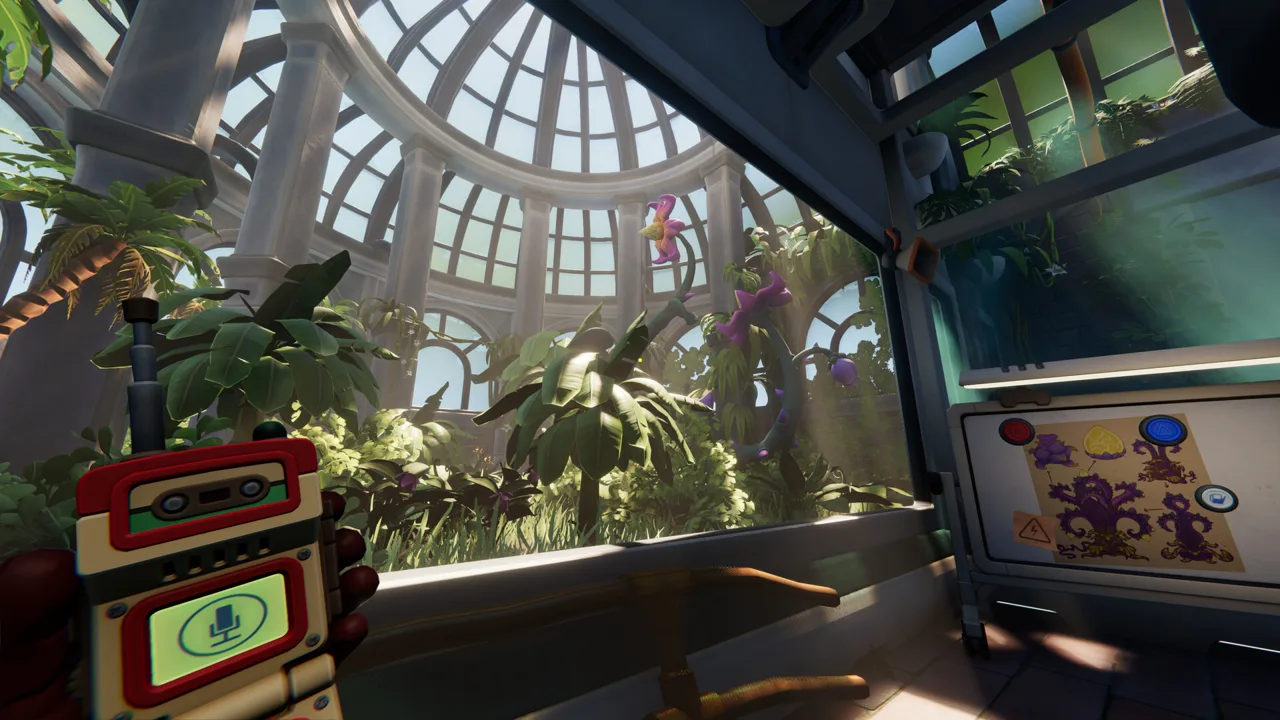
The We Were Here Tomorrow crystal puzzle requires more than getting a laser to touch the receiver. To complete the We Were Here Tomorrow crystal puzzle, send the beam through Mirror / Piercing → Serene / Stabilizing → Fiery / Heating, routing it through the yellow room before the turquoise room. Pay particular attention to Pingosius Crystalis: its similar-looking counterpart, Pingosso Crystallo, can leave you with a connected beam and a rejected configuration.
The Laser Calibration area combines crystal identification, reflector positioning, and communication between explorers. Treat those as separate checks while building one continuous route. Finding the receiver solves the routing problem; passing through the required crystal effects in sequence completes the calibration.
| Sequence | Required crystal effect | What to check |
|---|---|---|
| Initial stage | Mirror / Piercing | The beam passes through this effect before the others |
| Middle stage | Serene / Stabilizing | This effect follows the piercing stage |
| Final stage | Fiery / Heating | This effect comes before the central receiver |
Start with the order above rather than adjusting every reflector immediately:
- Find the main laser emitter and establish which direction its beam travels.
- Locate the central receiving apparatus.
- Identify the crystal holders and reflector connections between the rooms.
- Build a route through the yellow section, then the turquoise section, followed by the final heating stage.
- Aim the processed beam into the receiver.
Keep room order and effect order in your conversation. “The beam reaches turquoise” describes its location. “The beam has passed through piercing and is entering stabilizing” describes its calibration progress. You need both pieces of information.
Once the configuration succeeds, the machinery activates and the next passage opens. Until then, check each part of the route individually instead of assuming that a visible connection means the puzzle is finished.
Official page: We Were Here Tomorrow (store.steampowered.com)
Identify Pingosius Crystalis Before Adjusting the Beam
Crystal identification deserves its own check because the names are deliberately easy to confuse. The catalogue contains these six specimens:
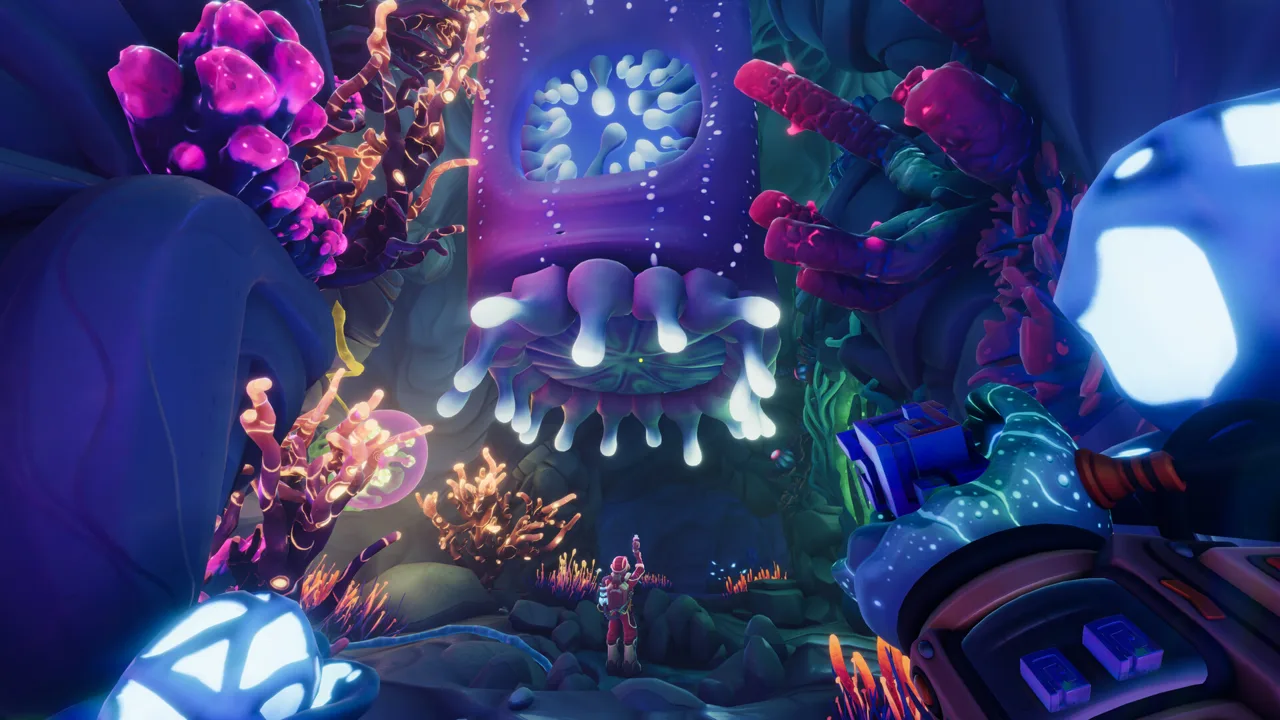 Image: Steam / Total Mayhem Games
- Cattonimo
- Rupium
- Cattonimus
- Cattonium
- Pingosso Crystallo
- Pingosius Crystalis
Read the complete names aloud. Shortening the last two to “the Ping crystal” removes the distinction you need to communicate.
For the We Were Here Tomorrow crystal puzzle, the important visual difference is between Pingosso Crystallo and Pingosius Crystalis. Both have angular shapes, but the required Pingosius Crystalis has additional small growths, including rounded features near its upper spikes.
| Specimen | Distinguishing detail | Identification check |
|---|---|---|
| Pingosius Crystalis | Additional small growths, including rounded shapes near the upper spikes | Match these details before selecting it |
| Pingosso Crystallo | Lacks that same combination of additional growths | Keep it distinct from Pingosius Crystalis |
Use the silhouette to narrow your choice, then inspect the smaller details:
- Compare the specimen with its catalogue illustration.
- Look near the upper spikes for the additional rounded growths.
- Read the full name to your partner.
- Have your partner repeat the name before continuing with calibration.
Do not rely on “spiky,” “angular,” or “the tall one” as the entire description. Those words describe broad features shared by the two specimens. Include the small growths that separate the correct choice from its look-alike.
A useful callout is: “Pingosius Crystalis—the one with the extra rounded growths near the upper spikes.” That combines the exact name with a visible distinguishing feature.
Keep the selected specimen separate from your notes about beam direction. If calibration fails later, this lets you revisit the crystal choice without losing track of which reflectors already connect correctly. Recheck the specimen itself rather than repeatedly adjusting a working route around the wrong crystal.
Trace the Reflector Route Backward From the Receiver
The reflectors create a second challenge: not every connection is equally flexible. Some reflectors rotate, while others have fixed orientations. Turning the adjustable pieces without checking those constraints can leave you feeding a section that cannot send the beam where it needs to go.
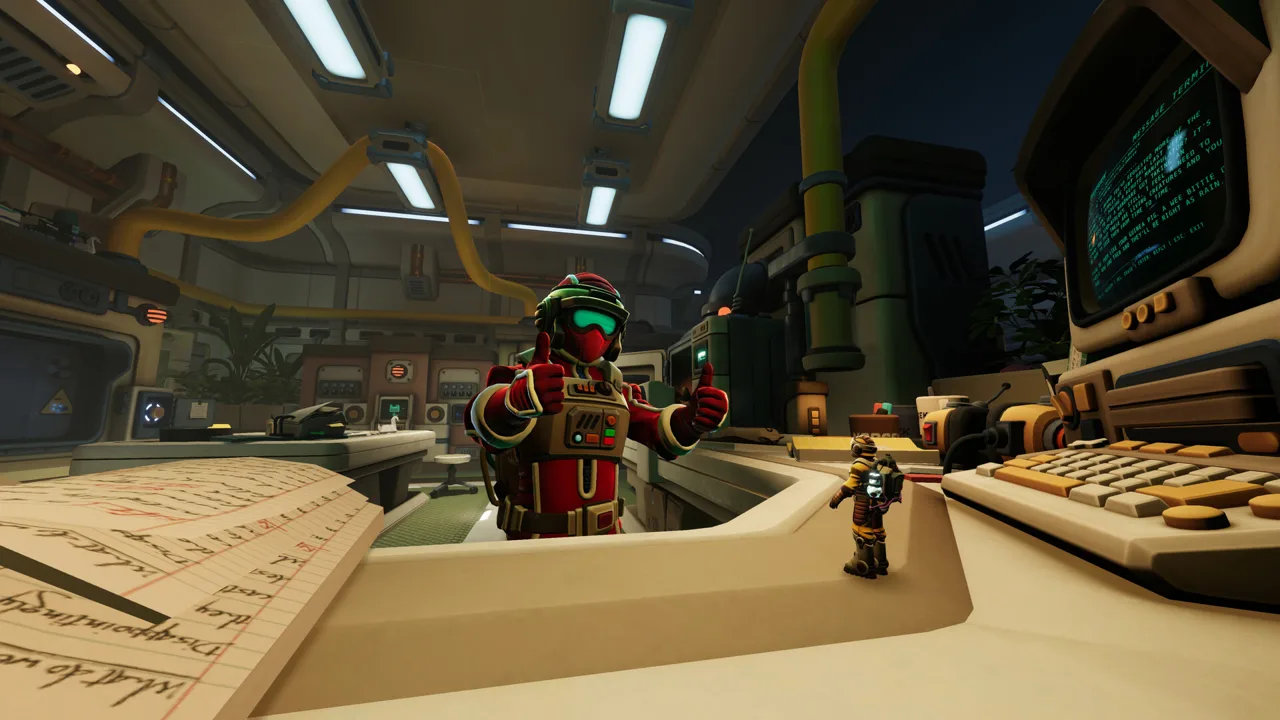 Image: Steam / Total Mayhem Games
In the We Were Here Tomorrow crystal puzzle, start your route planning at the final receiving point. Work backward to determine which reflector can deliver the beam into it.
- Locate the central receiver.
- Identify the reflector capable of aiming into that receiver.
- Find the connection that can feed that reflector.
- Continue tracing the preceding connections toward the crystal stages and emitter.
- Compare the planned route with the required effect sequence.
This backward check helps you identify the destination of each connection before committing to an adjustment. A reflector that points toward an opening is useful only if that opening leads into the required route.
Use landmarks instead of personal directions
The explorers can see rooms from opposite sides or inverted orientations. Your “left” can describe a different direction from your partner’s “left.”
Name the object and destination together. Say “the reflector feeding the turquoise room” or “the final reflector facing the central receiver.” Then describe the adjustment using a landmark both players recognize.
After each adjustment, ask your partner to describe where the beam now travels. Avoid stacking several changes before checking the result; you will have more individual movements to untangle if the connection breaks.
Separate planning from verification
Trace backward to plan the route, then follow the live beam forward to verify it. These checks answer different questions:
- Backward tracing: Which connections can deliver the beam to the receiver?
- Forward tracing: Which crystals and rooms does the beam actually pass through?
Use both before changing a crystal. A beam that disappears from one explorer’s view needs a location check before either player starts rebuilding the route.
Send the Beam Through Yellow, Turquoise, and the Final Stage
With the specimen identified and the receiving path mapped, connect the stages in order. The required route reaches the yellow room before the turquoise room, then continues through the final heating crystal and into the central apparatus.
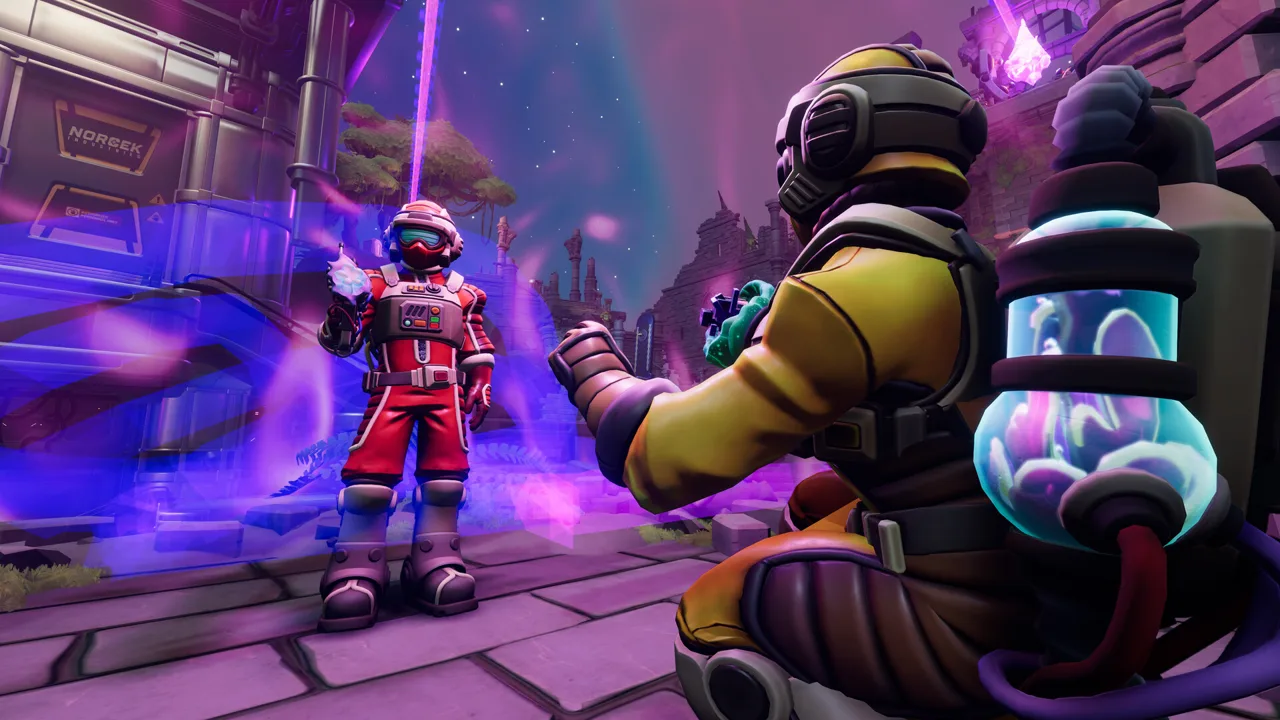 Image: Steam / Total Mayhem Games
Use this table as a shared checklist while you work:
| Route section | Required action | Partner callout |
|---|---|---|
| Yellow section | Select the correct crystal and direct the beam through it | Confirm the beam passes through the selected crystal |
| Connection to turquoise | Use the available reflectors to carry the beam onward | Confirm the beam enters turquoise after yellow |
| Stabilizing stage | Pass the beam through the required stabilizing effect | Confirm the middle effect is included |
| Final crystal stage | Send the beam through the heating crystal | Confirm heating follows stabilizing |
| Central receiver | Aim the final reflector into the apparatus | Check whether calibration succeeds |
Complete the We Were Here Tomorrow crystal puzzle by checking each transition before moving on:
- Establish the yellow stage. Select the required crystal and align the beam through it.
- Connect yellow to turquoise. Adjust the available reflectors while your partner watches the receiving side.
- Include stabilization. Check that the route passes through the middle effect.
- Add the heating stage. Keep it after the stabilizing effect.
- Finish at the receiver. Use the final reflector to direct the processed beam into the central apparatus.
Do not use “yellow is done” to mean both crystal selection and routing unless you have checked both. Instead, confirm the specimen, then confirm the beam passes through it.
Once a section connects correctly, leave its reflectors in place while you inspect the next section. If you need to change an earlier connection, tell your partner which part you are adjusting so they can watch its effect.
Before checking the final result, read the complete chain aloud:
Mirror / Piercing → Serene / Stabilizing → Fiery / Heating → Receiver
Then trace the visible beam along that chain. This catches a route that reaches the apparatus while bypassing a required effect or processing the effects in the wrong order.
Fix “Wrong Crystal Configuration” Without Losing Your Route
If the laser reaches the apparatus but the display reads Wrong Crystal Configuration, check the crystals and their sequence. A connected receiving path does not guarantee valid calibration.
For the We Were Here Tomorrow crystal puzzle, begin with the easily confused specimen names. Check that you selected Pingosius Crystalis, including its extra rounded growths near the upper spikes.
| Problem | What to inspect | Next action |
|---|---|---|
| Receiver gets the beam but rejects calibration | Selected crystal and effect sequence | Recheck Pingosius Crystalis, then trace the effects in order |
| Pingosso and Pingosius look similar | Small growths near the upper spikes | Compare the complete shape and repeat the full specimen name |
| Beam visits turquoise before yellow | Room sequence | Restore yellow before turquoise |
| Beam stops before reaching the apparatus | Reflectors and openings along the path | Trace backward from the receiver to locate the missing connection |
| Direction calls cause confusion | Different player viewpoints | Describe room colors, landmarks, and beam destinations |
Troubleshoot in a controlled sequence:
- Stop adjusting reflectors long enough to describe the current route.
- Verify the selected Pingosius specimen.
- Check that yellow comes before turquoise.
- Follow the beam through piercing, stabilizing, and heating.
- Confirm that the final reflector sends it into the receiver.
Change the part that fails its check, then inspect the result before making another adjustment. Changing the specimen and several reflectors together makes it harder to determine which correction mattered.
Keep your partner involved through the final connection. One explorer can watch the beam while the other checks the apparatus. Look for the machinery to activate and the next passage to open; those are the progression results you are working toward.
FAQ
What is the correct order for the We Were Here Tomorrow crystal puzzle?
Use Mirror / Piercing → Serene / Stabilizing → Fiery / Heating. Route the beam through the yellow room before the turquoise room, then through the final crystal stage and into the central receiver.
How do I distinguish Pingosius Crystalis from Pingosso Crystallo?
Look for the additional small growths on Pingosius Crystalis, particularly the rounded shapes near its upper spikes. Pingosso Crystallo lacks that same combination of features. Compare those details and use the complete names when communicating.
Why does the receiver say “Wrong Crystal Configuration”?
The beam can reach the receiver while using the wrong specimen or passing through the effects in the wrong order. Recheck Pingosius Crystalis, restore yellow before turquoise, and verify piercing, stabilizing, then heating.
What happens after successful laser calibration?
The machinery activates and the next passage opens. Complete the crystal sequence and aim the processed beam into the central receiving apparatus to advance.
Continue with
 We Were Here Tomorrow Floppy Disk Puzzle: Door GuideSolve the We Were Here Tomorrow floppy disk puzzle with steps for disk activation, both direction panels, timing fixes, and the Green Key Card printer.
More in Puzzles
We Were Here Tomorrow Chemical Puzzle: Resin Solution
Solve the We Were Here Tomorrow chemical puzzle with the correct resin recipe, nozzle order, reset steps, and co-op tips to keep your lab progress moving.
We Were Here Tomorrow Circuit Puzzle: Full Solutions
Solve the We Were Here Tomorrow circuit puzzle with component matching tips, the GEN cable route, and door unlock steps. Get both players moving again.
We Were Here Tomorrow Generator Puzzle: Full Solution
Solve the We Were Here Tomorrow generator puzzle with the full cable route, colored door unlocks, and symbol panel inputs. Get your co-op run moving again.
We Were Here Tomorrow Laser Puzzle: Crystal Solution
Solve the We Were Here Tomorrow laser puzzle with the correct crystal order, yellow-to-turquoise beam route, and fixes for Wrong Crystal Configuration.
Join the community
Official channels for news, updates and player help: